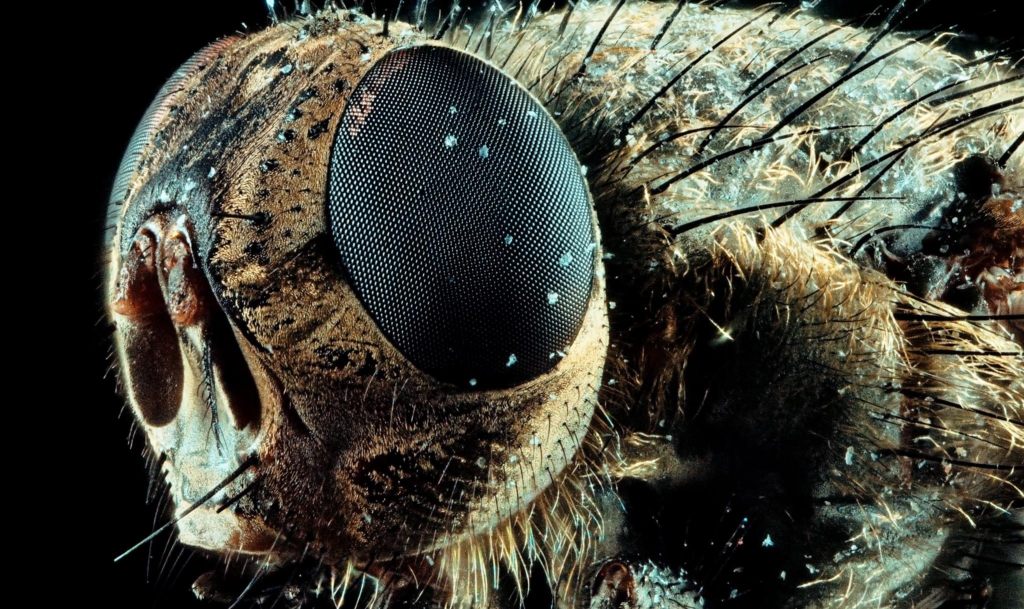
I was having fun lately with some normal macro photography and was curious if I somehow can use my fathers microscope lenses on my photo and film cameras. The idea is not new, a quick google search showed that it was indeed possible but you need a special adapter for these microscope lenses. The adapter is called “RMS to M42” and it is available from china on aliexpress.
I didn’t want to wait 4 weeks for the metal adapter to arrive so I thought let’s design one in Fusion360 – but before I start let’s check Thingiverse first 🙂 and voila! someone designed it already – LOL. Thanks to Emilio José Muñoz
Here is the link to the STL file from ejmfoto: https://www.thingiverse.com/thing:4687298
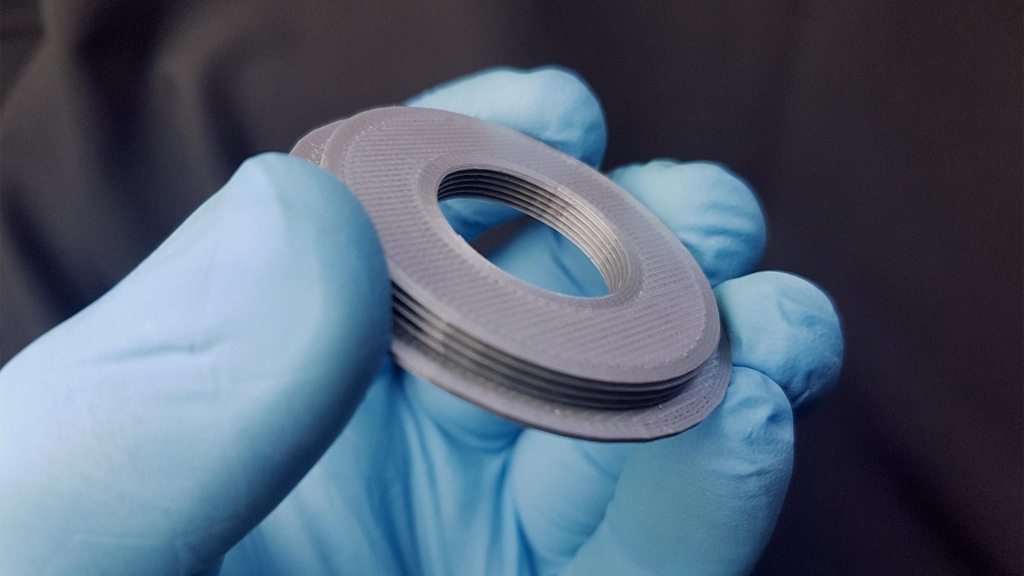
So I printed the adapter from PLA with a layer height of 0.10mm on my original Prusa MK3. I was very surprised that the threads worked perfectly. I screwed the 3d printed adapter into my M42 to CanonEF metal adapter and started to play with different microscope lenses.
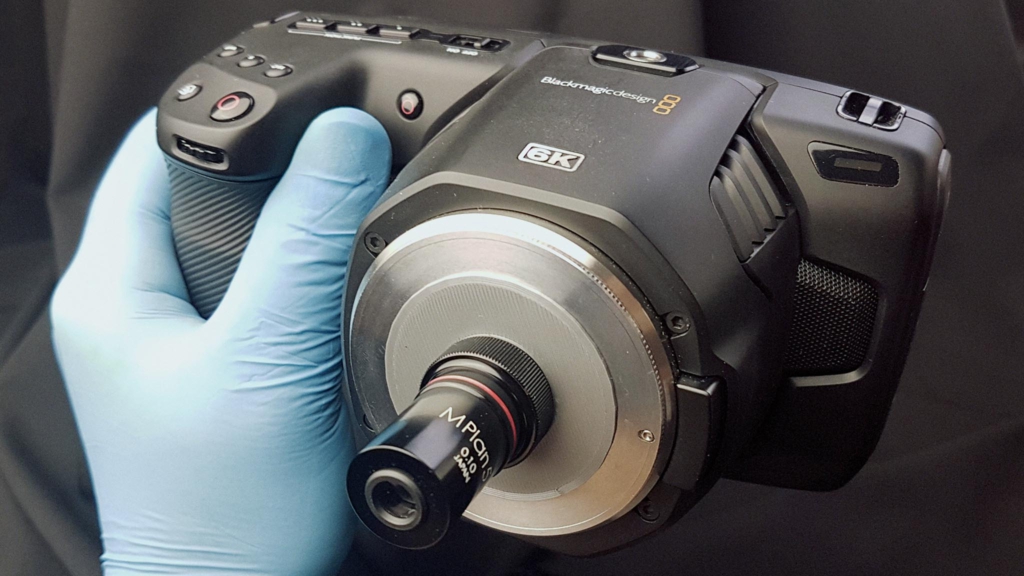
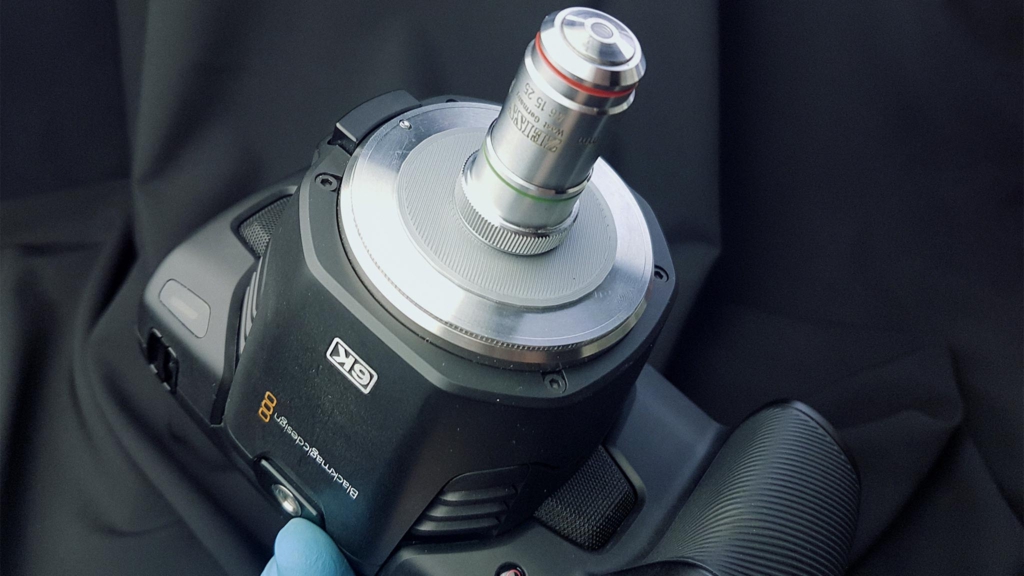
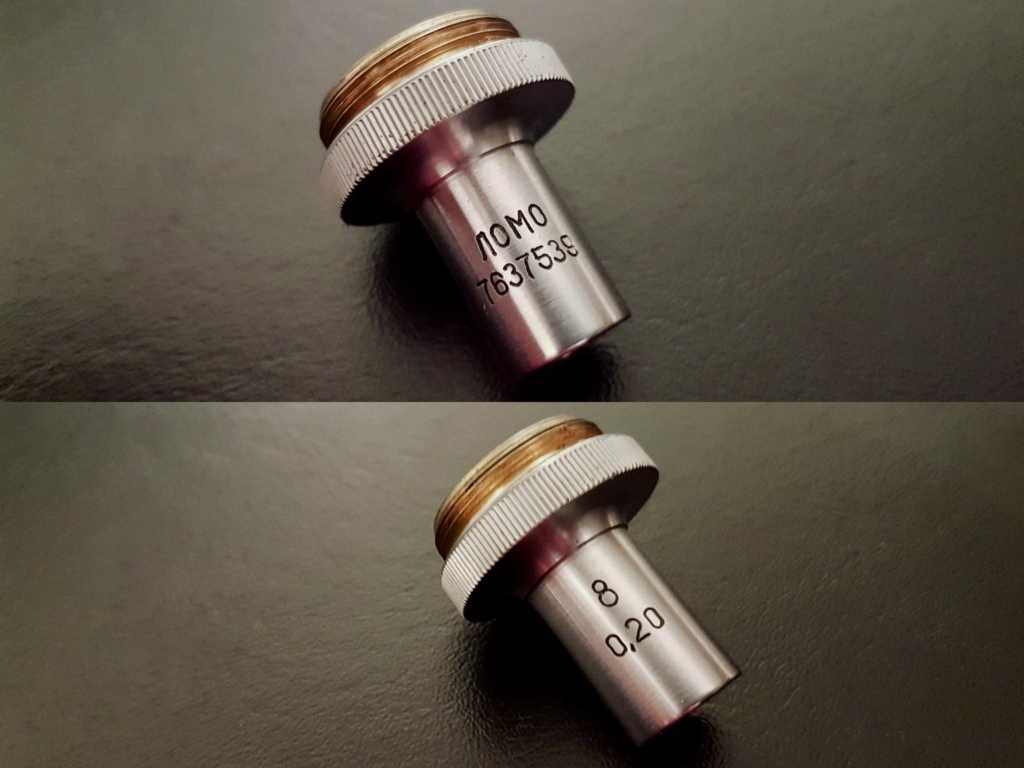
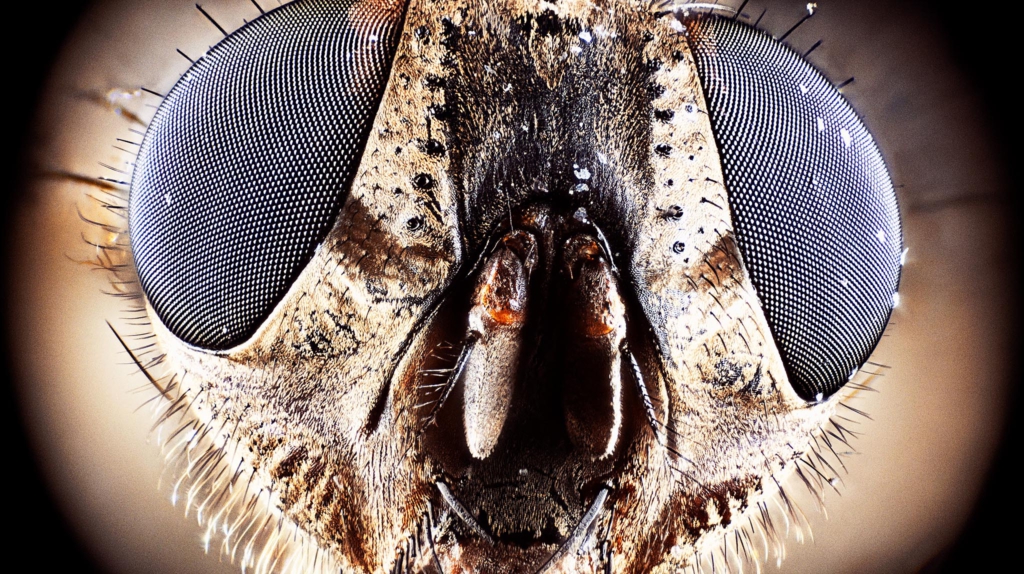
I soon realized that without extension tubes I got less than 8x magnification and some vignetting. After reading several online documents I knew that I have to increase the distance from camera to microscope lens to about 160mm to get that 8x magnification from the Lomo 8x and get rid of the vignetting.
I started with the thin extension tubes from the microscope accessories itself and got a good magnification to work with. After that I added my Kenko/Canon EF extension tubes and the whole length was about 160mm. You can play with that length depending what magnification you need. And don’t forget you need a lot of light! This was just a quick test setup on my desk to see if it works and it did!
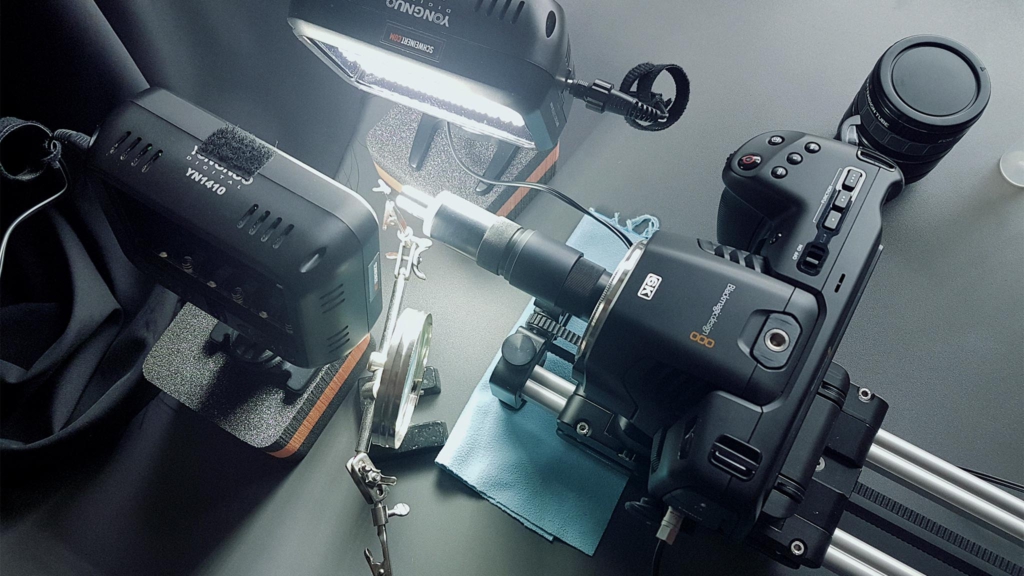
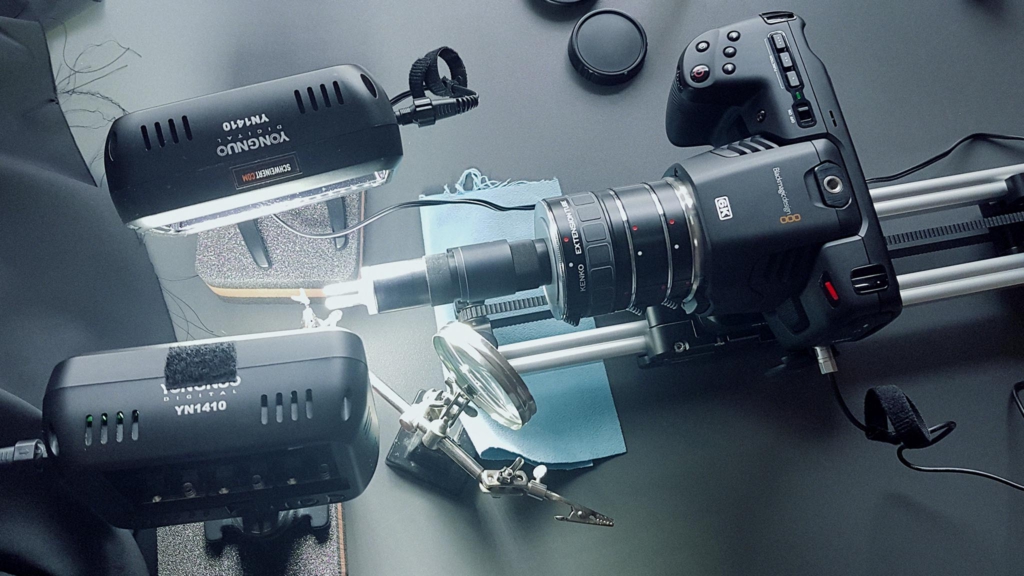
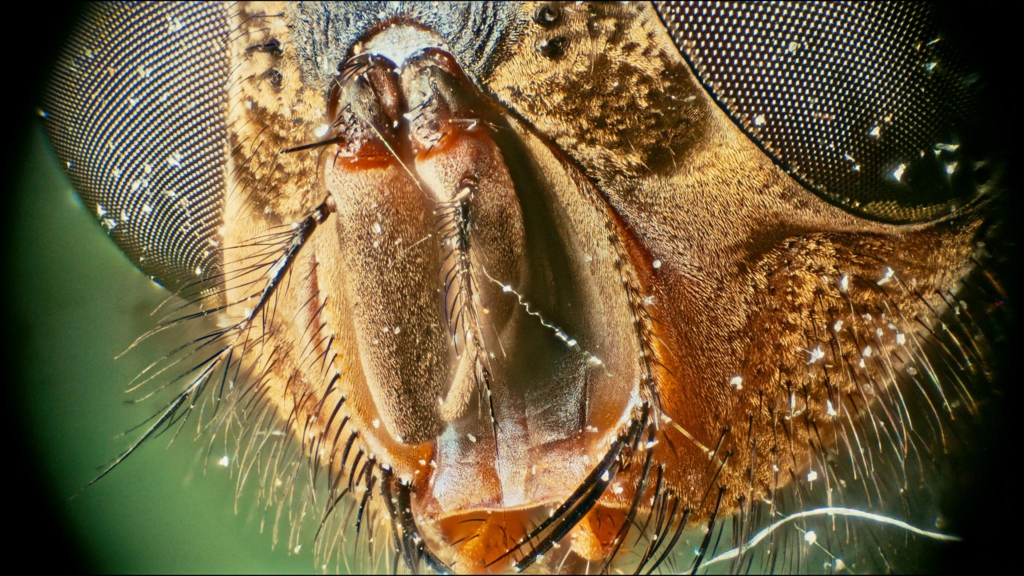
With all extension tubes that I had, I got that max. 8x magnification from the Lomo microscope lens. I also tested the 16x and 40x microscope lenses and the magnification is mind blowing but my setup is way to flimsy for that. I need a dedicated macro rail like “wemacro” with threaded rod instead of a belt driven system.
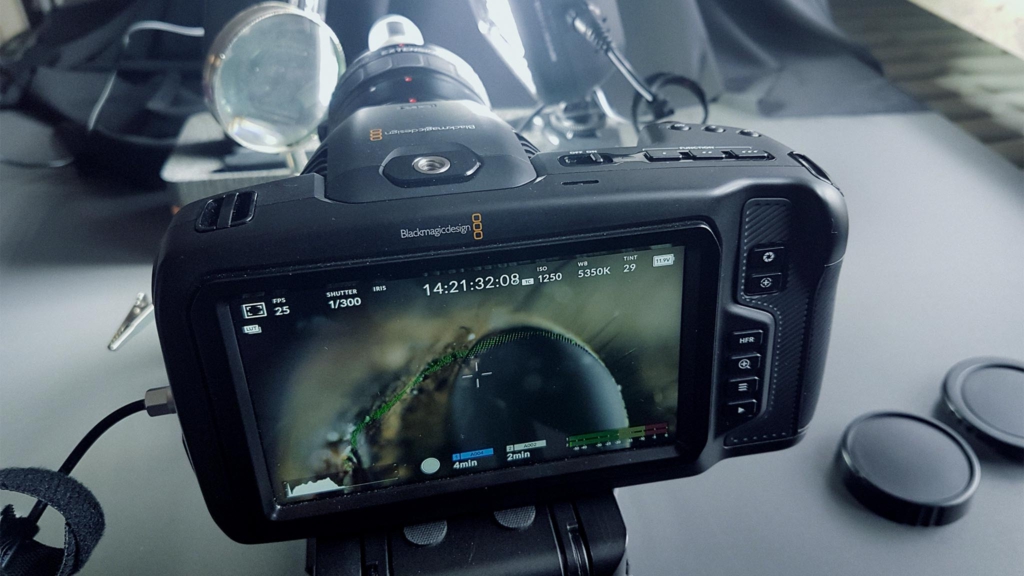
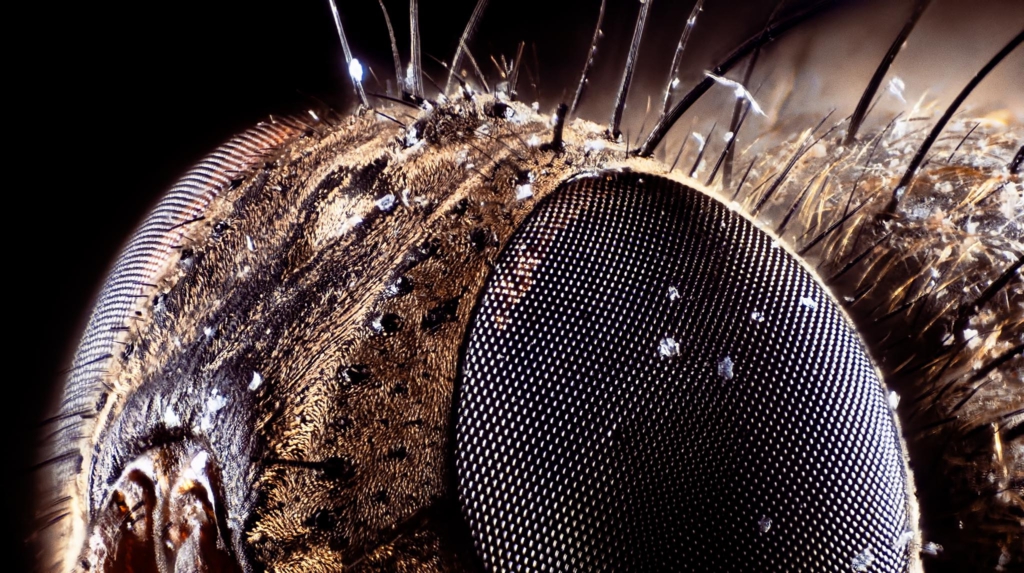
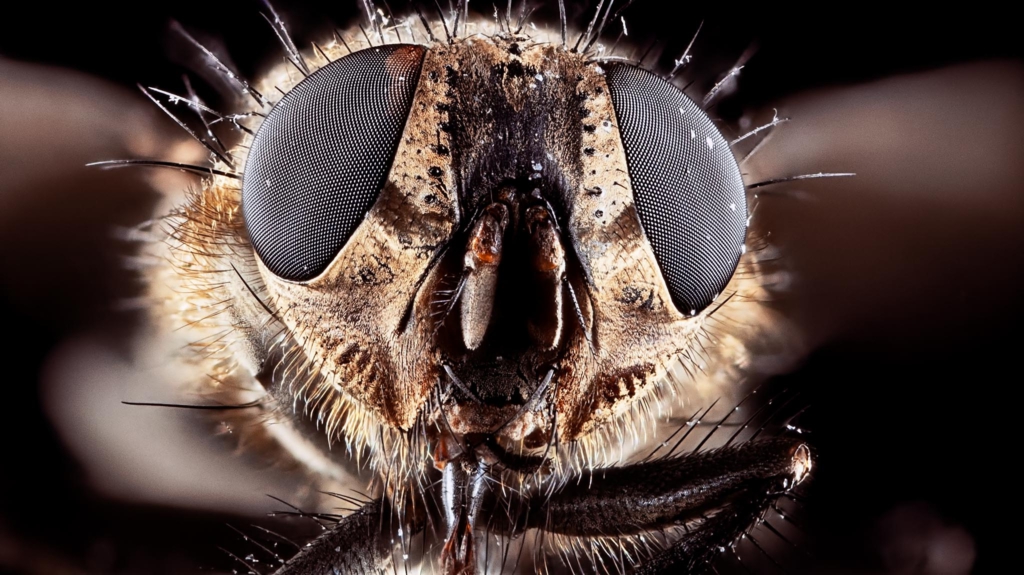
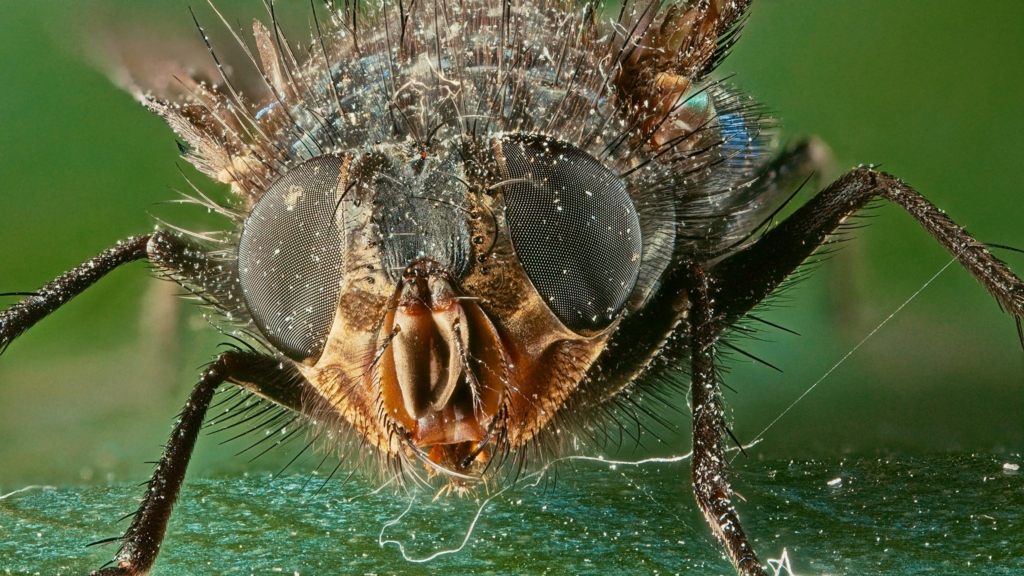
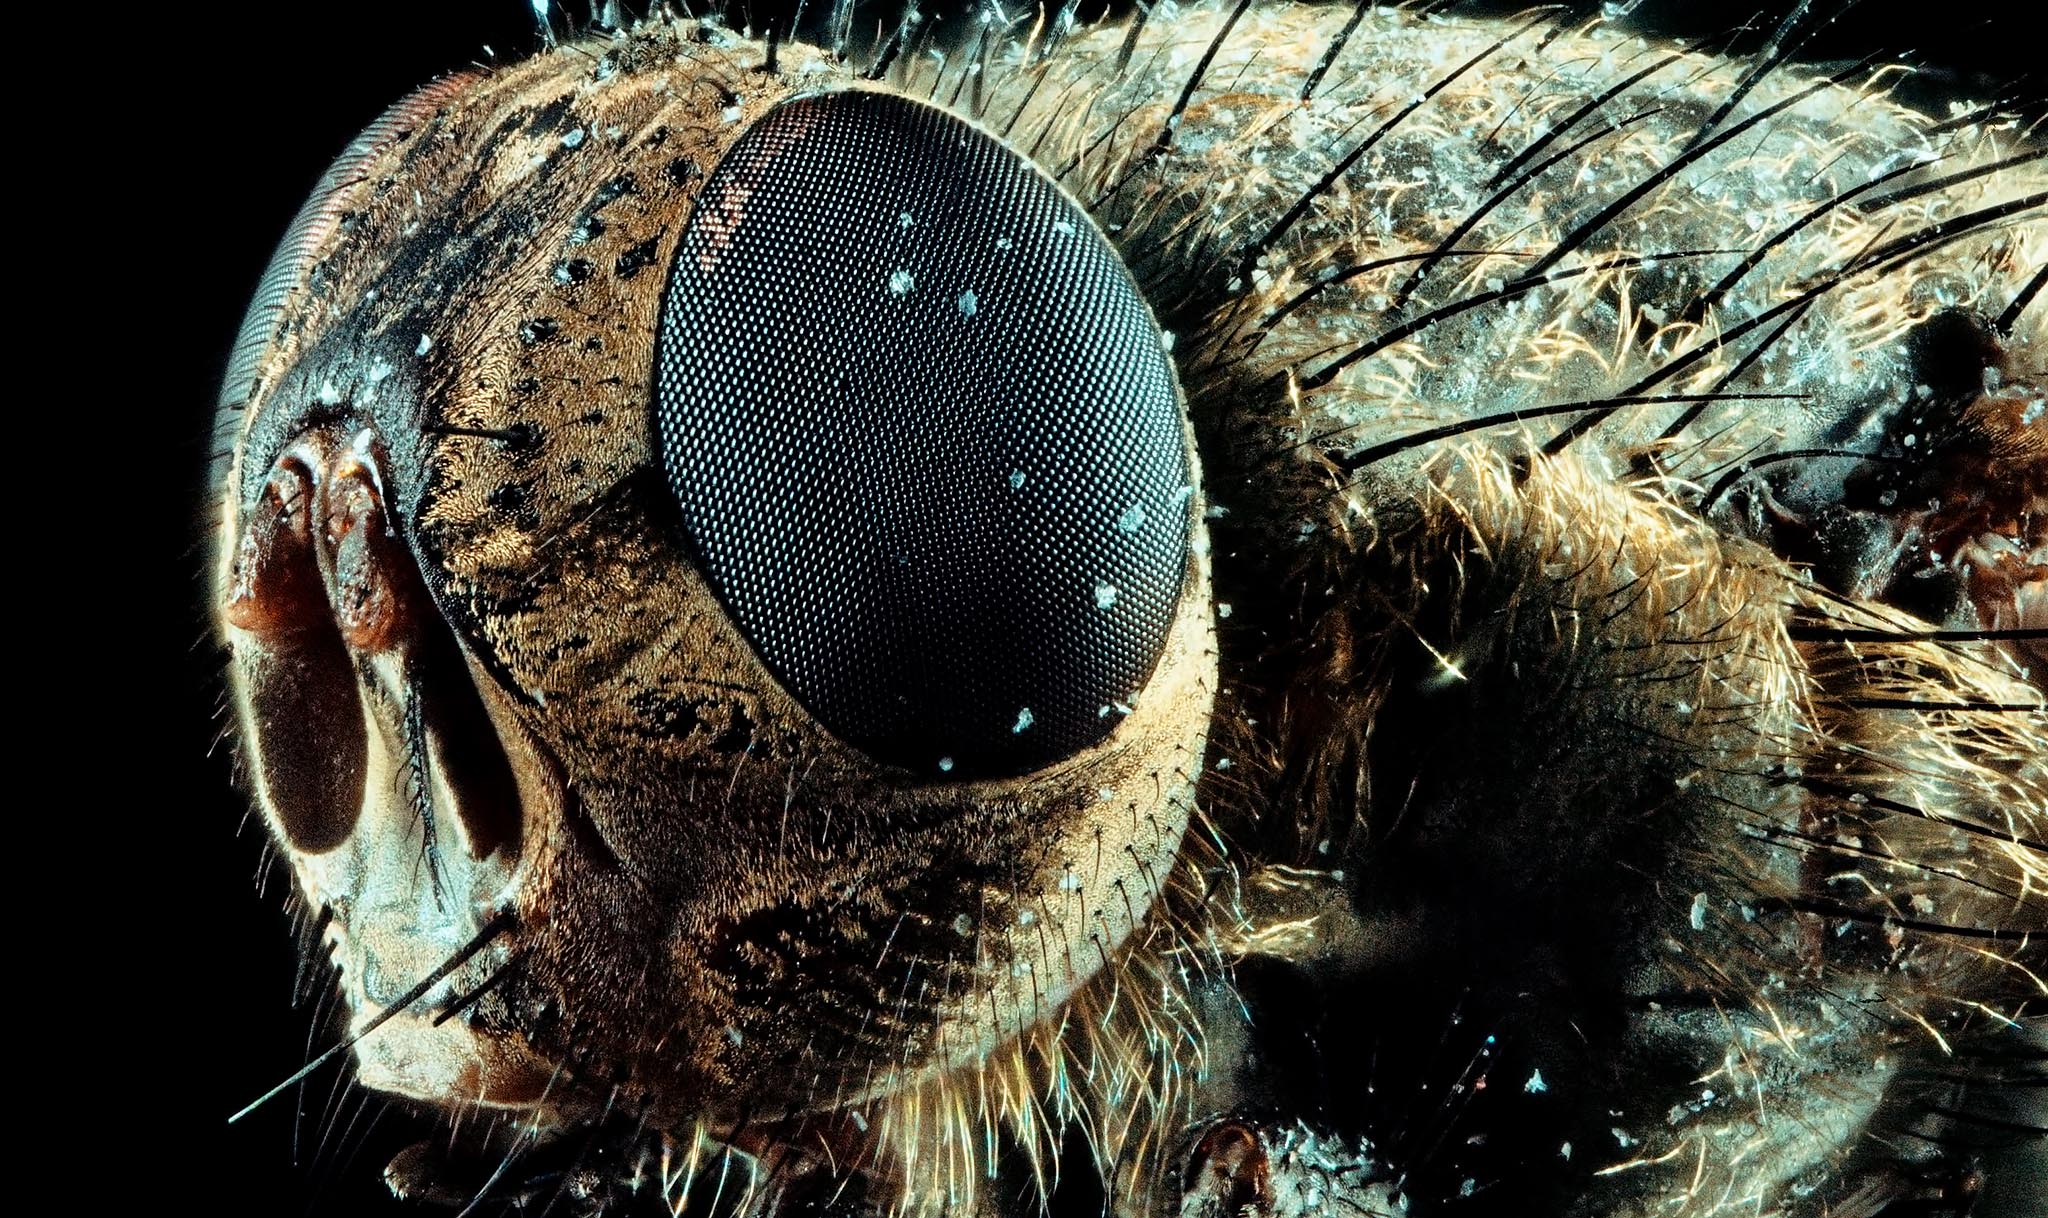
The camera itself is mounted on an old edelkrone slider with a motion module. I record short 4K ProRes422HQ clips and use them for focus stacking directly in helicon focus. For this fly I used an average of 160 frames. The slider was not meant for these extreme macro shots therefore I had to increase the shutter speed to 1/300 to avoid the motion blur from the shakiness. This way I get crystal clear frames that work perfectly in helicon focus.
To get the maximum quality from the Pocket 6K you could record in 6K BRAW – color correct the short clips in DaVinci Resolve and export it to 6K ProRes422HQ or single files something that helicon focus can import. All these focus stacked pictures here I did with 4K ProRes422HQ directly out of camera because for the test it was a faster turnaround time.
Sources / interesting material:
https://www.maxamillion.online/blog/2019/6/20/adapting-microscope-lenses
https://makrodunyasi.com/en/macro-photography-using-microscope-lenses/
http://makrofokus.se/blogg/2016/9/22/diy-makro-fisheye.html
http://makrofokus.se/blogg/2015/9/24/nonac-40mm-f28.html
https://www.youtube.com/watch?v=PW-44IKD8l0
https://www.edmundoptics.com/knowledge-center/
https://www.mjkzz.com/single-post/2016/08/10/Using-Microscope-Objectives-For-Beginners

[…] see more of his work on his website, Instagram, Vimeo, and Youtube. This article was also published here and shared with […]
[…] For more information about using microscope lenses with the BMPCC 6K, please visit Daniel Schweinert’s blog here. […]
[…] For more information about using microscope lenses with the BMPCC 6K, please visit Daniel Schweinert’s blog here. […]